How Much Does CPR Training Cost?
How Much Does CPR Training Cost?

by Greta Kviklyte
Life Saver, AMC
Co-authored by Kim Murray, RN, M.S.
posted on Jul 10, 2025, at 4:02 pm
Every year, more than 436,000 Americans lose their lives to cardiac arrest. Globally, cardiac arrest claims more lives than colorectal cancer, breast cancer, prostate cancer, influenza, pneumonia, auto accidents, HIV, firearms, and house fires combined. In the United States alone, over 350,000 cardiac arrests happen outside of hospitals each year, with nearly three-quarters occurring at home. Yet, despite the urgency of these emergencies, only about 40% of cardiac arrest victims receive immediate help from a bystander before professional responders arrive.
Here’s why CPR training matters: if performed right away, CPR can double or even triple a person’s chance of survival during an out-of-hospital cardiac arrest. Still, many people hesitate because they feel unprepared. Whether you’re a healthcare professional maintaining your credentials or a parent, coach, or caregiver looking to be ready when it counts, CPR, AED, and First Aid certification equips you to step in confidently during those critical moments.
We offer Online CPR and BLS Certification
As you explore options, you’ll notice the cost of CPR certification can reach over $100 depending on a few key factors. Course format (online, in-person, or hybrid), the level of certification needed, the inclusion of study materials, whether or not it covers more than one type of CPR, and hands-on skills testing all play a role in the total cost. Advanced courses like Basic Life Support (BLS) or Pediatric CPR, especially for healthcare providers, tend to be priced at the higher end of the spectrum.
This article will help you make an informed decision that fits both your budget and professional needs while gaining life-saving skills.
Cost Comparison: Online vs. In-Person CPR Training
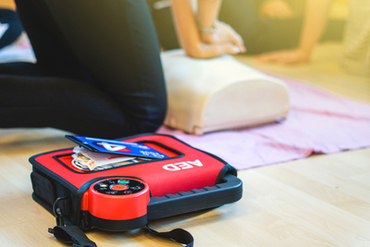
 CPR, or Cardiopulmonary Resuscitation, teaches essential life-saving techniques like chest compressions and rescue breaths to help sustain blood flow and oxygen in critical situations. Most courses also cover how to properly perform CPR, including using an Automated External Defibrillator (AED) and providing first aid basics so you’re prepared to act confidently in a range of emergencies.
When it comes to choosing between an in-person and an online CPR course, the differences can impact your wallet.
In-Person CPR Training: Higher Costs, Longer Time Commitment
While in-person classes offer face-to-face interaction, they typically come at a higher price point for the same certification. You’ll often pay more due to additional costs like facility fees, instructor time, and printed materials. On top of that, attending an in-person class requires you to block out several hours of your day and potentially account for transportation and parking expenses. For busy professionals, that time investment alone can be a hurdle.
Online CPR Training: Affordable, Flexible, and Immediate
An online CPR class offers an excellent alternative. You get high-quality, physician-reviewed courses that meet the latest ILCOR guidelines, all at a lower cost than traditional classroom options. There is also the added benefit of completing the course at your own pace, often in just a few hours. Plus, once you pass your exam, you’ll receive instant access to your certification card, making it easy to provide proof of certification whenever you need it.
How to Save Money on CPR Training
Here are two of the most effective strategies for keeping CPR training costs down:
Go with an Online Provider
Choosing a digital provider can dramatically reduce your expenses. Online CPR certification courses eliminate many of the overhead costs that come with in-person training, making them far more affordable. Not only can you find comprehensive certification courses for a fraction of the price, but you also gain the flexibility to study at your own pace and on your own schedule.
Plus, these courses include study materials, unlimited exam retakes, and a 100% money-back guarantee, providing excellent value for every dollar spent.
Check If Your Employer Offers Reimbursement
Another great way to save is by checking with your employer. Many healthcare organizations, educational institutions, and even corporate workplaces will reimburse employees for a CPR certification class, especially if it’s a job requirement. Some employers may even have preferred provider partnerships that offer discounted rates or cover the full cost upfront.
Before enrolling, ask your HR department or supervisor if they offer reimbursement or direct payment for CPR training. It’s a simple step that can help you avoid out-of-pocket expenses entirely.
AMC FAQ
Is there a difference in cost for CPR training in different states?
While the cost of a CPR class can vary by state, especially for in-person courses, choosing an online provider like Advanced Medical Certification ensures consistent, affordable pricing no matter where you’re located. Online courses eliminate regional price differences tied to classroom rentals, instructor fees, and local market rates. Whether you’re in a major city or a rural area, AMC provides nationwide access to high-quality certification at a flat, budget-friendly rate.
Is CPR certification worth the cost?
Absolutely. CPR certification is a small investment with life-changing potential for your career and for the people you may help in an emergency. Beyond meeting job requirements, a CPR class equips you with the skills to act confidently when seconds count. With AMC, you not only gain affordable access to certification but also benefit from physician-designed courses, comprehensive learning materials, and instant certification upon passing your exam. The value far exceeds the cost.
What occupations typically need CPR, AED & First Aid?
Common roles that need to be trained in Cardiopulmonary Resuscitation include:
- Doctors (MDs)
- Teachers
- Daycare providers
- Caregivers
- Nurses (RNs) & Nurse Practitioners (NPs)
- Dentists & Dental Hygienists
- Massage Therapists
- Pharmacists
- Physician Assistants
- Paramedics
- Physical Therapists
- Nannys
- Personal Trainers
- Babysitters
How long does it take to get a CPR certification?
Taking the CPR certification online at AMC is designed to be completed in 2-3 hours. You’ll also need to pass an exam with a score of 80% or better to get certified.
Do I have to pay to retake the test if I don’t pass the first time?
 No, there is no additional cost to retake your certification exam. If you don’t pass on your first attempt, you’ll have unlimited opportunities to review your materials and retake the test at no extra charge. Your progress is saved in your account, and you’ll even receive an exam recap via email to help you focus your studying. This ensures you can build confidence at your own pace without worrying about hidden fees.
If you do not achieve a passing score on the exam, you will be able to reset the test. After this, you will have immediate access to retake the exam. Exam retakes are unlimited until successful completion at no additional charge.
How long does CPR certification last before it expires?
CPR certification from AMC is valid for two years from the date of completion. To keep your skills sharp and your certification current, we also offer convenient renewal reminders, helping you stay prepared and compliant for work or personal readiness. When it’s time to renew, you can complete your recertification course quickly online at your convenience.
What is included in a CPR certification course?
With AMC, your CPR certification course includes access to comprehensive, physician-reviewed training materials, a downloadable Provider Handbook, and an easy-to-navigate online course platform. The curriculum covers CPR techniques for adults, children, and infants, AED training, first aid basics, and emergency response protocols. Once you’re certified, you will instantly receive your digital provider card and can also request a printed card delivered to your door.
Gain Lifesaving Skills Without Breaking the Bank
If you work or volunteer for a position where you are responsible for the safety of others, a CPR certification is one of the most valuable investments you can make. It will help your career and improve your ability to help others in emergencies. The average cost of in-person classes up to $100 (or more), but online options like Advanced Medical Certification make it easier and more affordable than ever to gain these essential skills.
Take the next step today. Enroll in an AMC course, and equip yourself with the knowledge and certification you need at a price that works for you.

 Training to renew your ACLS certification is typically quicker than the initial training. Most recertification courses take 4 to 6 hours to complete, depending on how familiar you are with the material. The course focuses on updated protocols, reinforcing key skills like airway management, medication use, and rhythm recognition without re-teaching foundational concepts in full.
 We know your days are full as you balance patient care, administrative duties, shifting protocols, and everything else that comes with working in healthcare. Keeping your ACLS certification current may feel like just another task, but it’s also a good way to stay sharp, confident, and ready when lives are on the line.
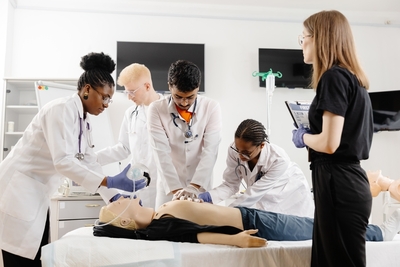 Traditional in-person ACLS classes tend to require a full day or more when you factor in travel, fixed schedules, and group instruction.
 Not all nurses are required to hold a Pediatric Advanced Life Support certification. It depends largely on your role, the patient population you serve, and your clinical setting, but a PALS certification is typically required for nurses who care for infants and children in critical or emergency situations. This includes:
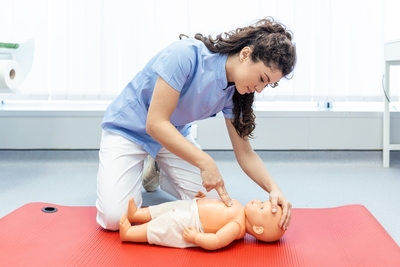 Getting your PALS certification as a nurse is a straightforward process, and it starts with selecting a course that fits your learning style and schedule. To enroll, you must already be proficient in BLS skills, particularly CPR for infants and children. While there are no formal prerequisites beyond that, it’s helpful to have experience in emergency or pediatric care, as the course builds on clinical knowledge and rapid assessment skills.
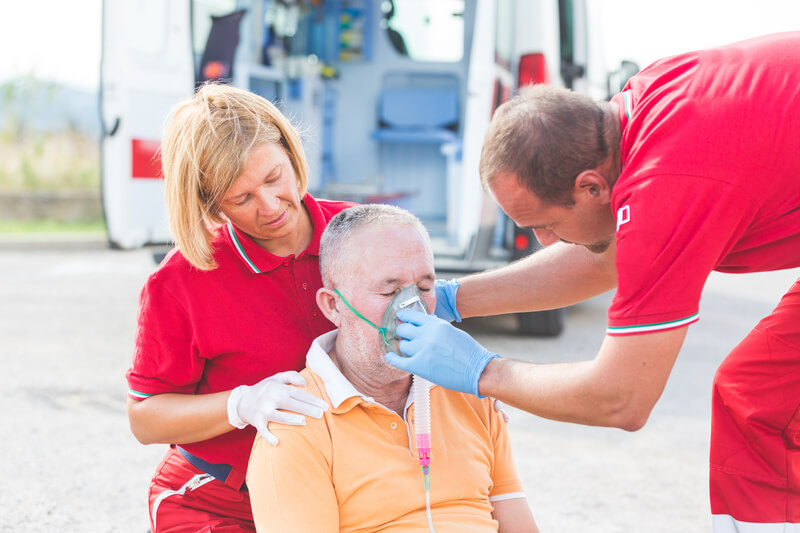 Each year, more than 350,000 cardiac arrests occur outside of hospitals
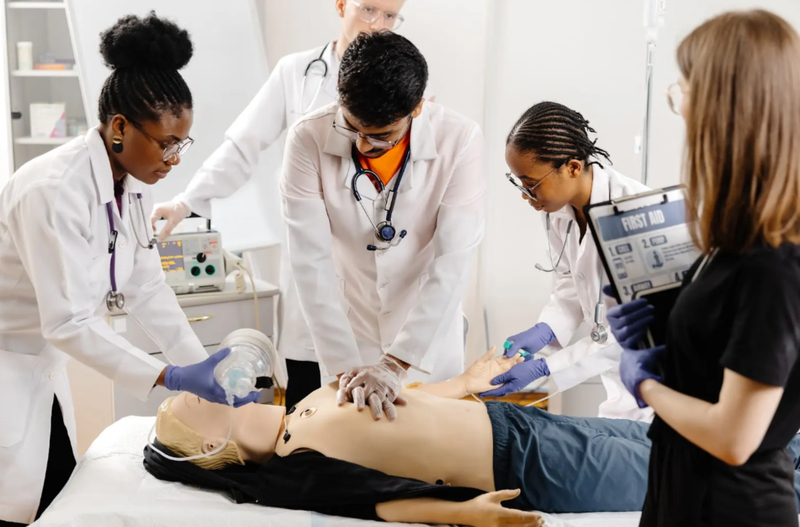 While the fundamentals of BLS are consistent, applying them effectively depends on the provider’s setting. Both prehospital and in-hospital healthcare professionals face distinct challenges that shape how they deliver care. Following best practices tailored to each environment helps reduce mortality and ensure timely, high-quality intervention.
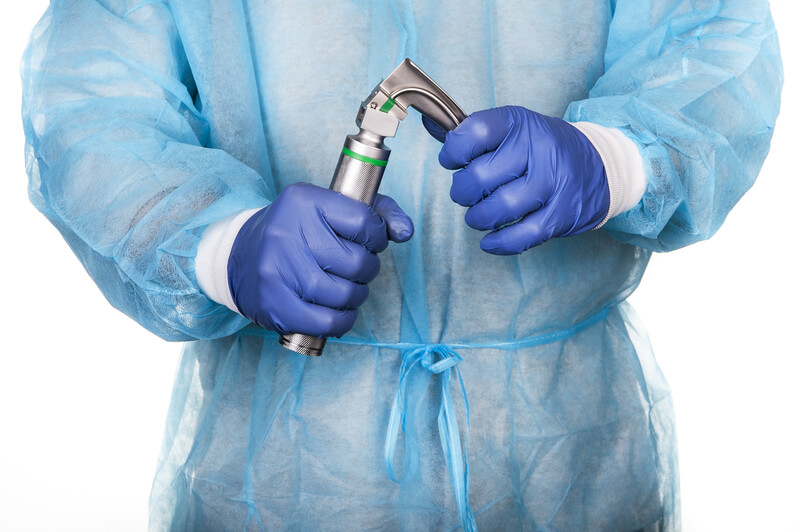 Adequate ventilation
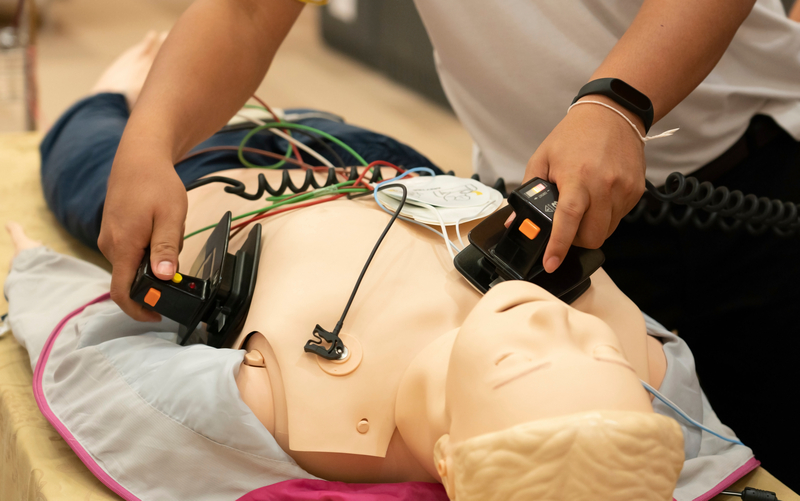 During Defibrillation
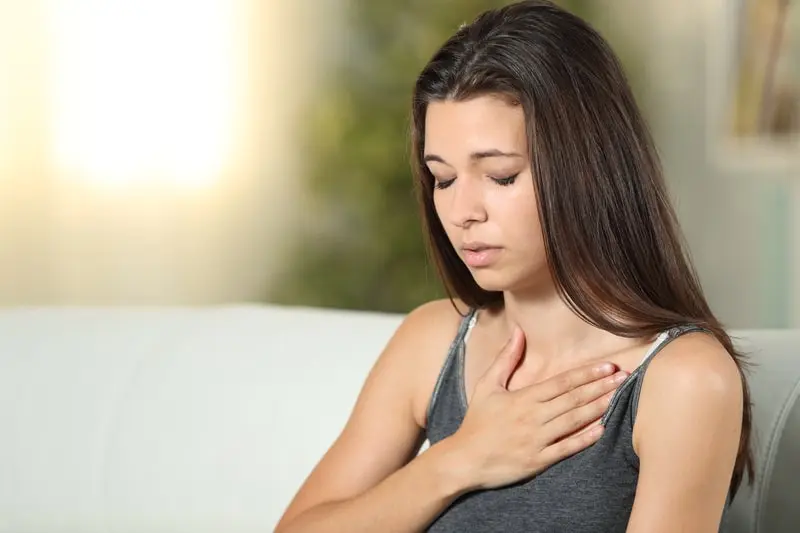 When a person’s heart stops beating, oxygen cannot get to the brain and other organs. While you wait for medical help to arrive,
  A person falls and lands on their arm. That could mean there’s a
 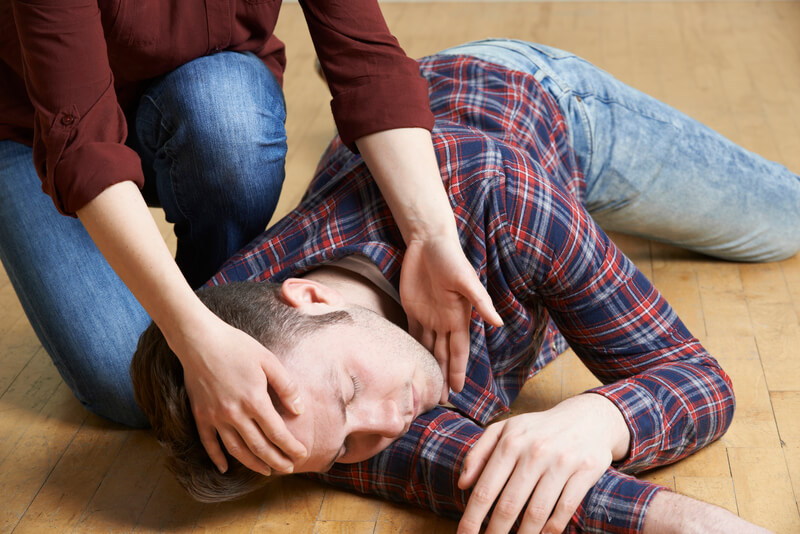 A person who is
 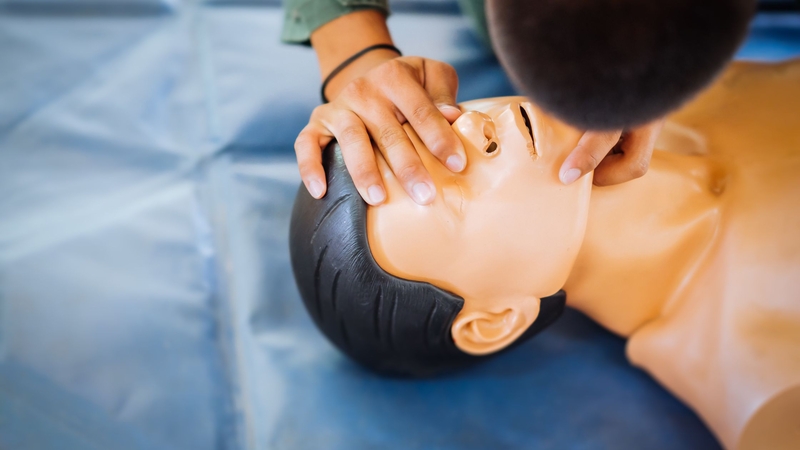 There are several scenarios where this procedure is the best choice. These include:
 Understanding the main differences between the head tilt chin lift and jaw thrust maneuver is vital to knowing when to use each one. The goal is to be as effective as possible while reducing the risk of harm, and knowing is a powerful way to do that.
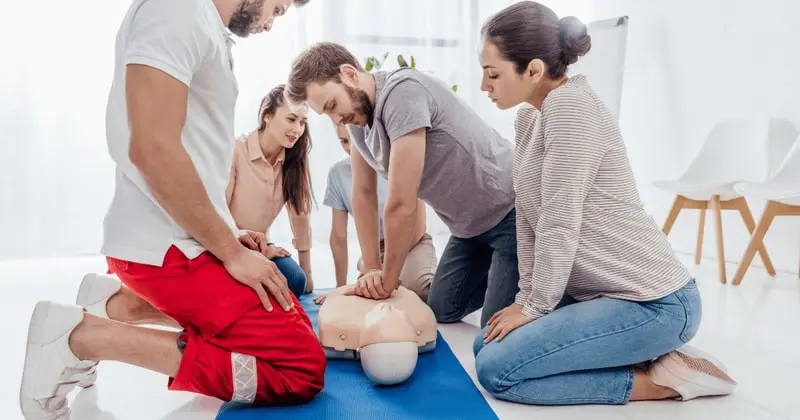 When you consider BLS vs CPR one of the most important factors to remember is that both are life-saving, valuable, and worth learning.
 You have decided to obtain the BLS certification vs CPR. How do you get started? You can get the help you need right here at Advanced Medical Certification.
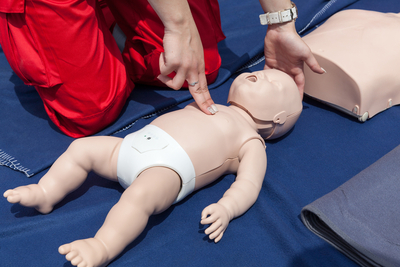 Children who are very young or very small may require different support to help them start breathing properly. To provide rescue breaths for child care at this age, for any child that is under one year old, excluding newborns, follow these specific steps:
 It is not as uncommon as many expect for a child to enter into cardiac arrest, warranting the need for rescue breaths for child patients. The